My Journey Deploying a Medusa E-commerce App
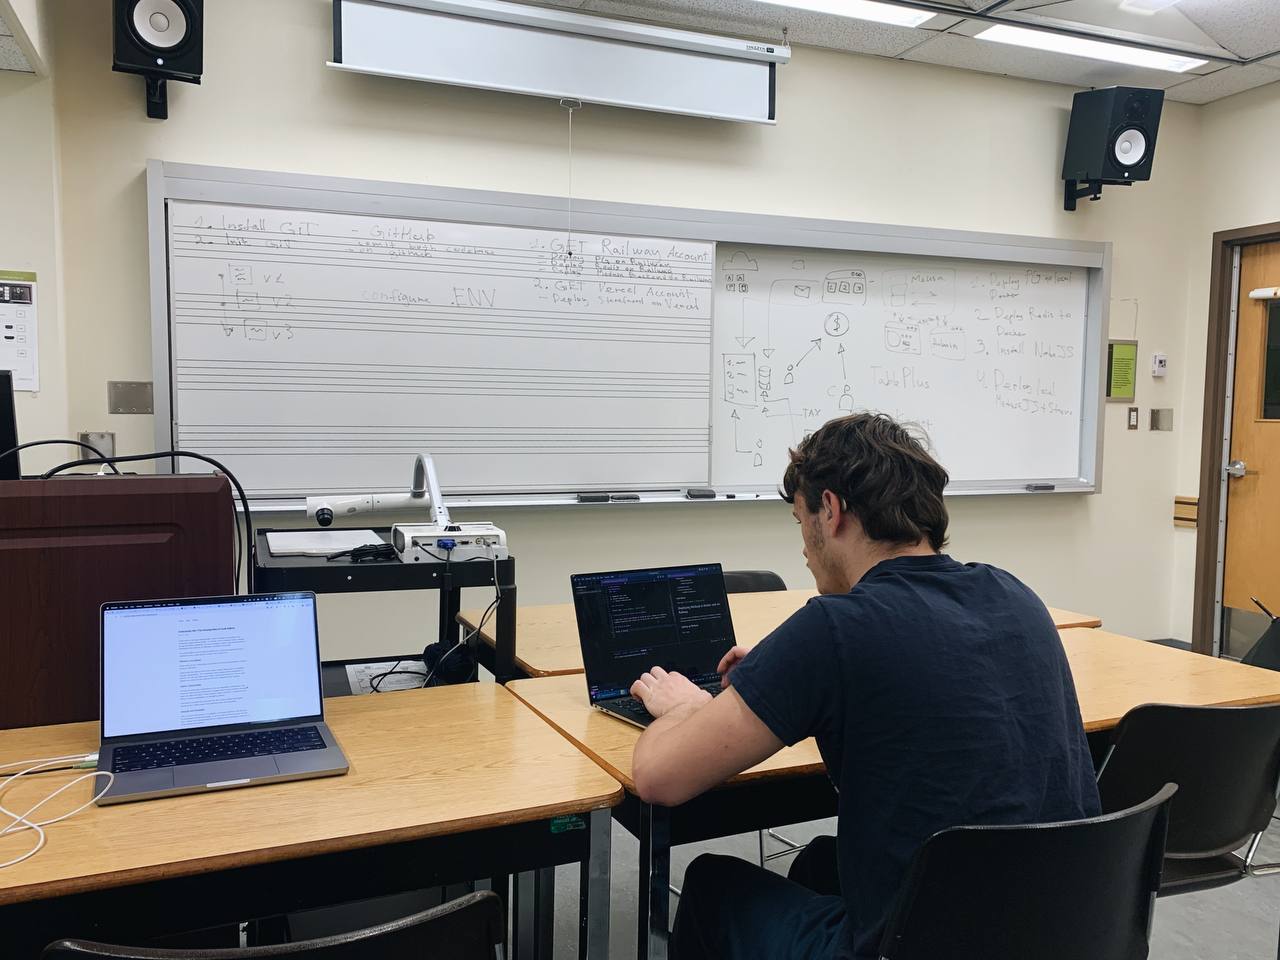
Hey there! 👋 I'm excited to share my experience deploying my first Medusa e-commerce application using Docker and Railway. As a student learning web development, this was both challenging and rewarding. Let me walk you through my process!
Getting Started with Medusa
 When I first heard about Medusa from my web development professor, I was immediately intrigued by its potential. As an open-source alternative to Shopify, it seemed perfect for learning e-commerce development. I decided to document my deployment journey to help other students who might want to try it out.
Setting Up the Development Environment
The first step was getting my development environment ready. Here's what I needed to install:
- Redis for caching
- PostgreSQL for the database
- Node.js for running the application
I spent some time making sure everything was properly configured. The trickiest part was setting up PostgreSQL - I had to learn about database connections and environment variables. After a bit of troubleshooting (and help from Stack Overflow!), I finally got everything connected.
Creating and Configuring the Medusa Project
With all the prerequisites installed, I created my Medusa project using their CLI tool. The documentation was super helpful, though I did run into a few hiccups connecting to the database. Pro tip for fellow students: double-check your database credentials in the .env file!
Version Control with GitHub
Next came the exciting part - version control! As someone new to Git, this was a great opportunity to practice the commands I'd learned in class:
- Created a new repository on GitHub
- Initialized my local repository with
git init - Added my files using
git add . - Created my first commit with
git commit -m "Initial commit" - Pushed everything to GitHub with
git push origin main
It felt amazing seeing my code safely stored in a remote repository!
Deployment Adventure with Railway
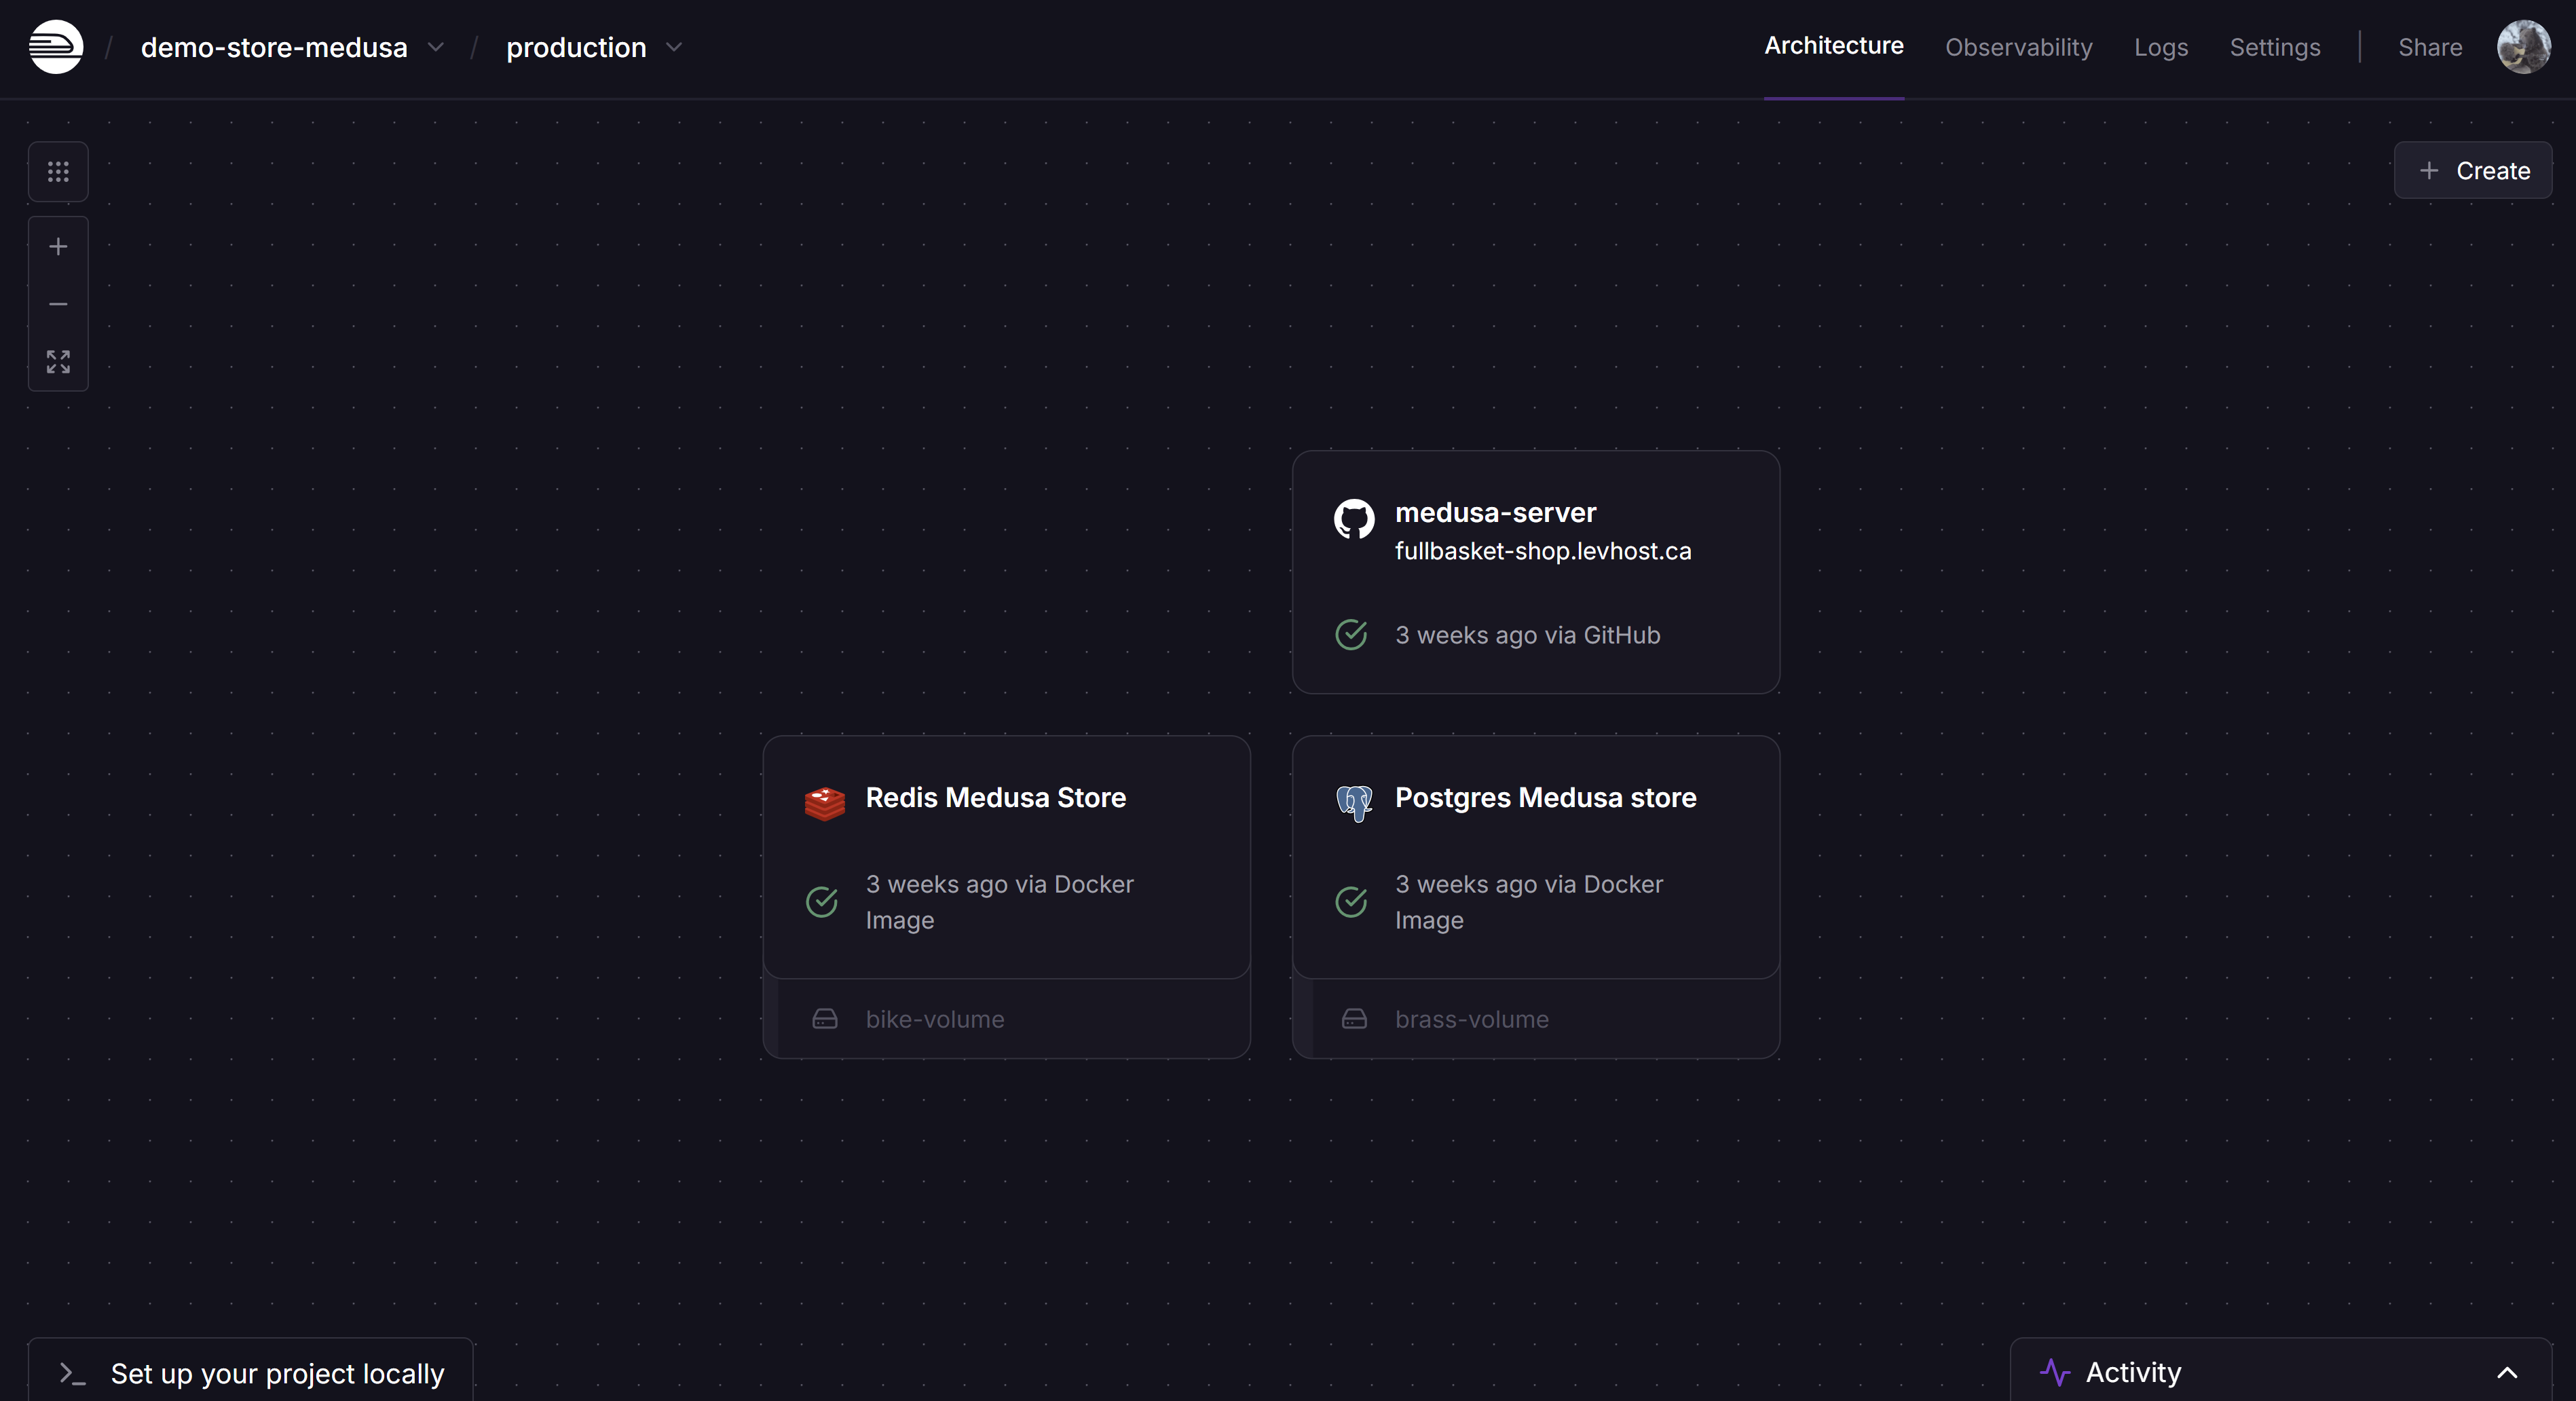 The final step was deployment, and I chose Railway because of its student-friendly free tier and straightforward GitHub integration. Here's what I learned:
- Created a Railway account (pro tip: use your student email for benefits!)
- Connected my GitHub repository
- Set up the necessary environment variables
- Configured the deployment settings
After a few minutes of nervous waiting, seeing my application successfully deploy was incredibly satisfying! 🎉
Lessons Learned
This project taught me so much about:
- Working with databases
- Environment configuration
- Version control
- Cloud deployment
- Docker containers
While it wasn't always smooth sailing, each challenge helped me grow as a developer. I'm looking forward to adding more features to my store and learning even more!
Feel free to reach out if you're also a student working on similar projects - I'd love to share experiences and tips! 💡